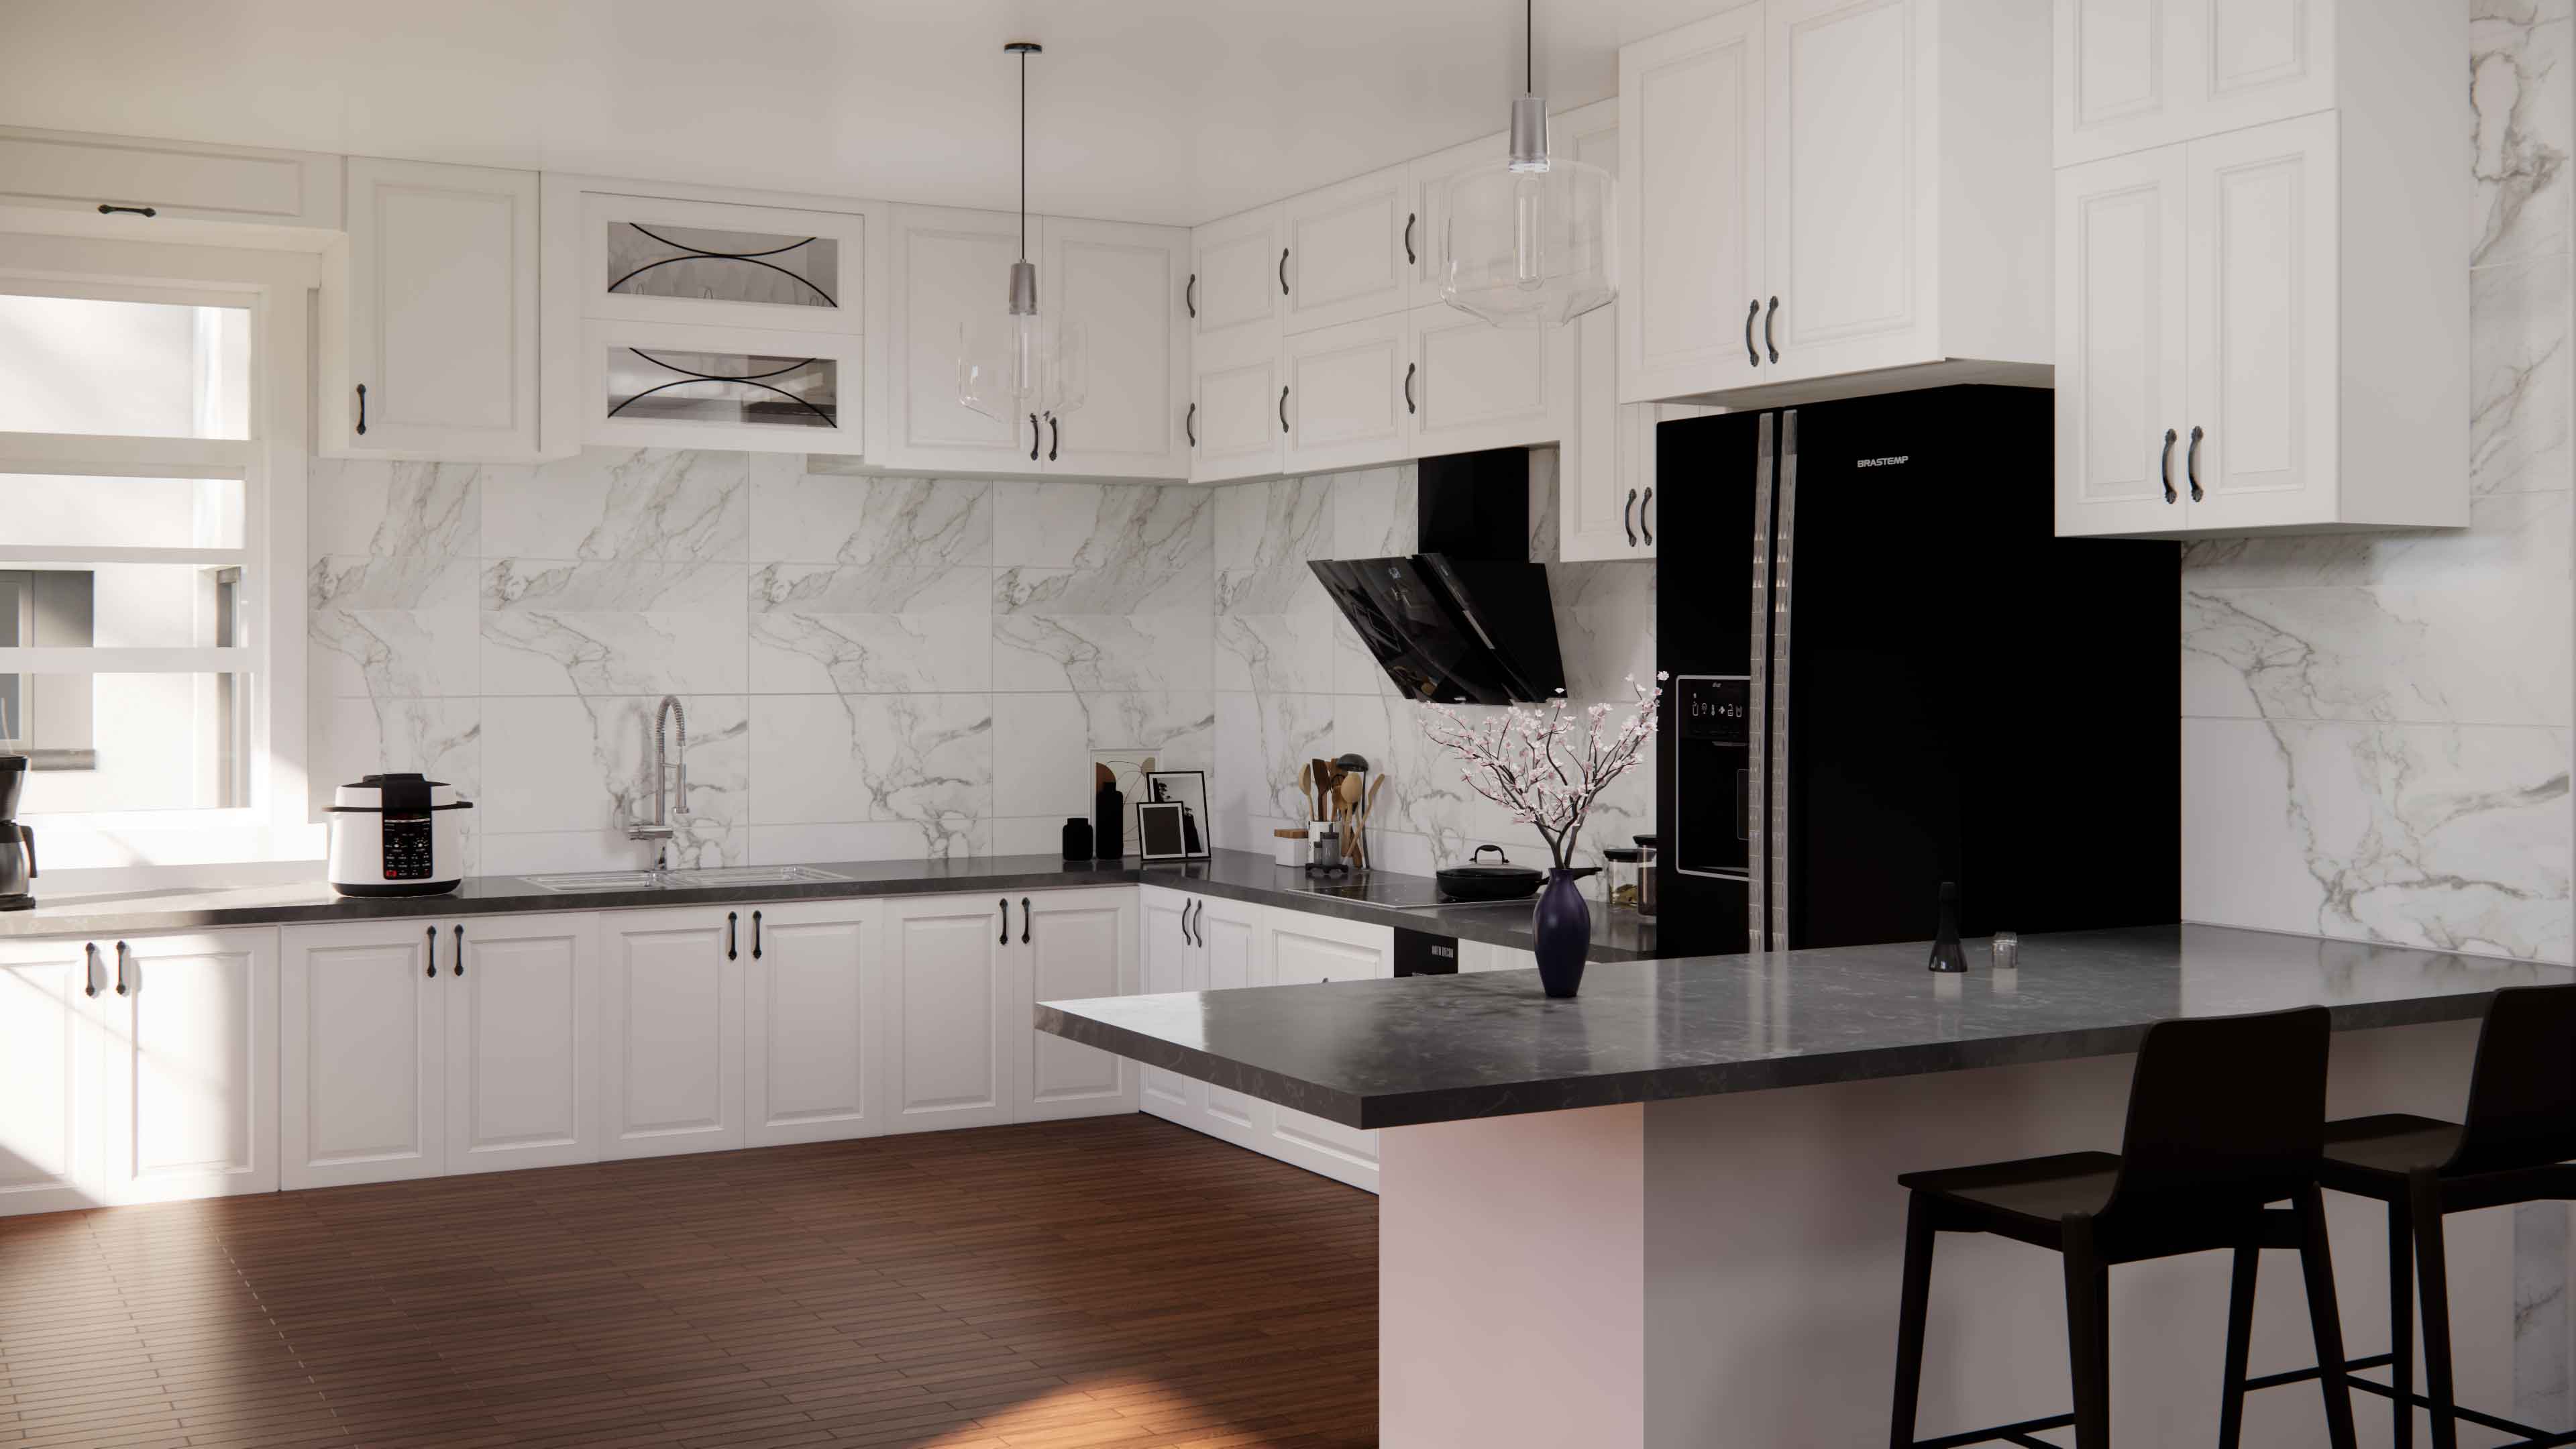
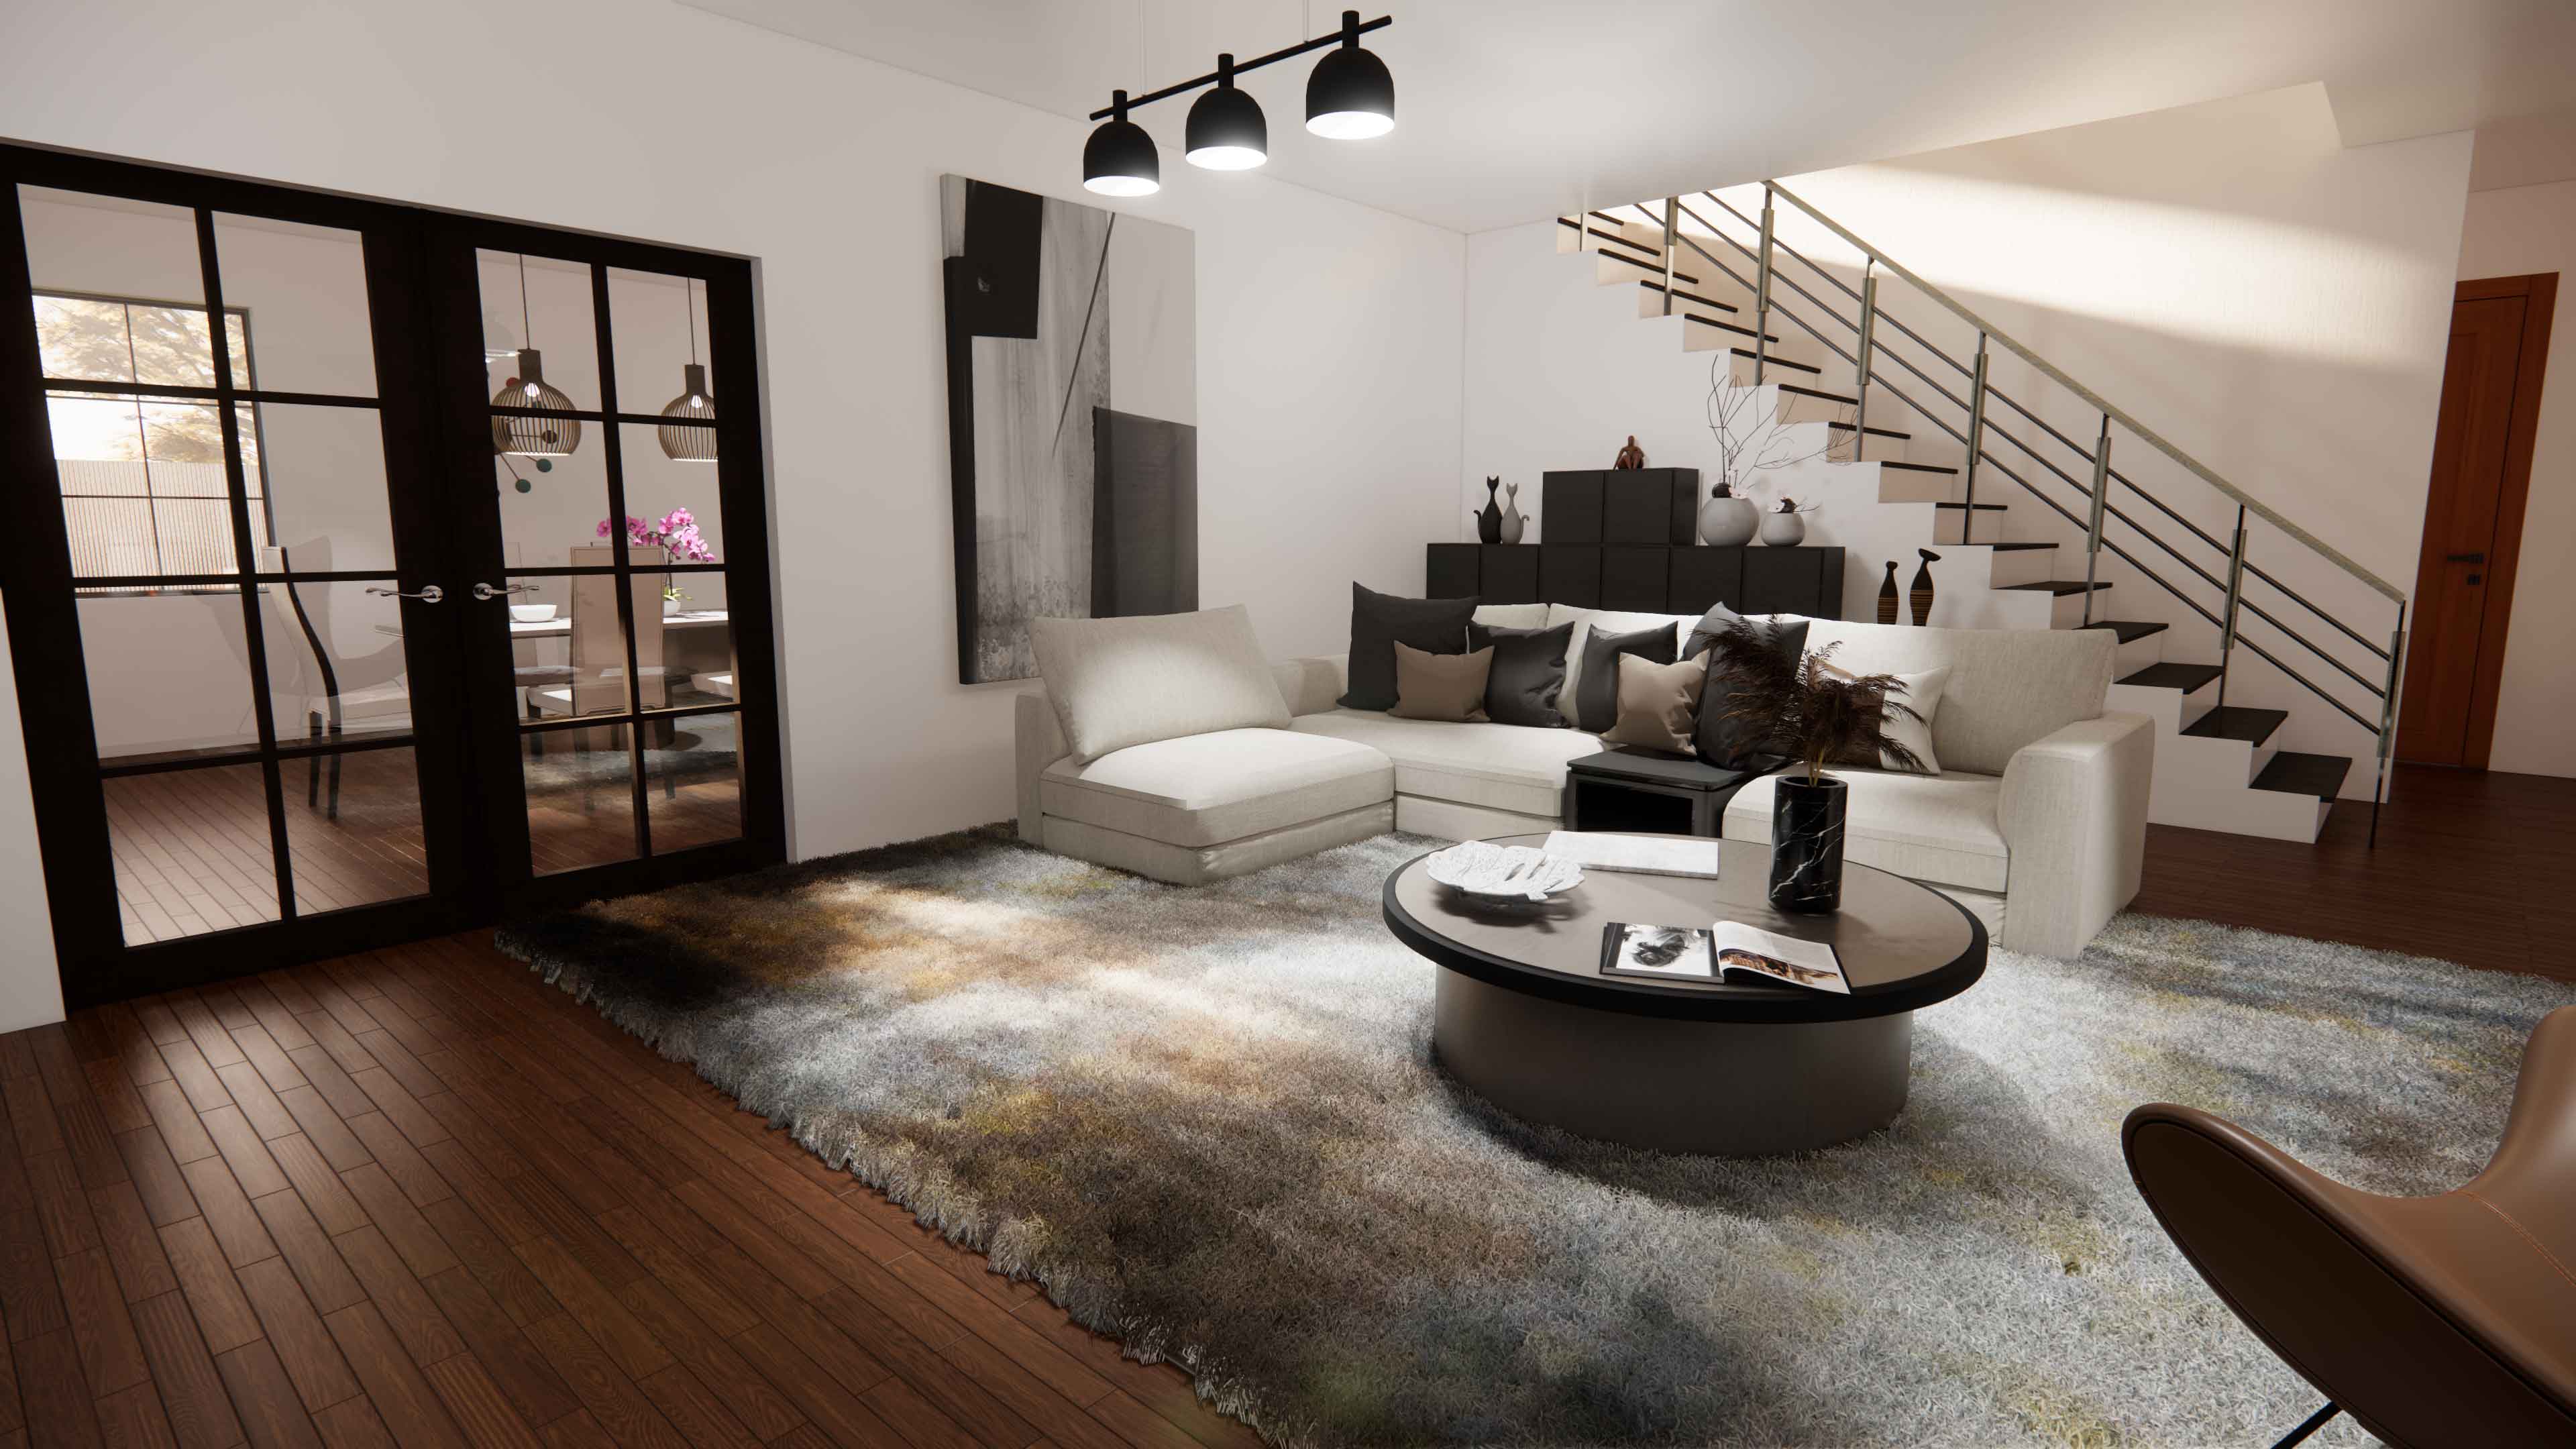
Interior design is a discipline that seeks to create attractive, functional, and comfortable environments that meet the needs and desires of clients. In this process, 3D visualization is a valuable tool that allows designers to create a design that is very close to the final result before construction or renovation begins. There are different typical phases of an interior design project with 3D visualization and knowing them will give you a better understanding of the process.
Phase 1: Essential information requested from the client.
In this first phase, the designer meets with the client to learn about his requirements and expectations. The client must provide information about their tastes, needs, and budget for the project. The designer should listen carefully and ask specific questions to get a clear picture of the project.
Phase 2: Planning.
In this phase, the designer presents a preliminary plan to the client for approval. The plan will include an analysis of the client’s requirements, space needs, and design objectives. The designer should prepare sketches and 2D drawings to communicate his plan to the client and discuss any questions or adjustments needed.
Phase 3: Design.
The designer will begin designing the space in 3D using specialized 3D modeling software. The 3D visualization allows the designer to experiment with different layouts, furnishings, fixtures, colors, and materials while allowing them to be easily changed and modified. The designer can adjust and modify the design as many times as necessary until the client approves a final version of the project.
Phase 4: Rendering.
After the 3D model of the space has been created, it needs to be converted into high-quality, lifelike images. Converting the 3D model into images is known in the design industry as rendering. Rendering is the technique by which a photorealistic and detailed image of the designed space is obtained. This technique often uses lighting techniques and effects to give a more realistic look to the image. The rendered image is useful because it provides a detailed and accurate view of the design to the client.

Phase 5: Review and adjustments.
After the rendering is completed, it is thoroughly reviewed to ensure that all elements of the design correspond to the client’s specifications. If necessary, adjustments are made to the design elements during this review phase to ensure client satisfaction.
Phase 6: Presentation to the client.
In this phase, the designer presents the final result to the client. The presentation should explain the details of the design and how the result was achieved. The client can also ask questions, request changes, suggest modifications, and make clarifications when viewing the result. Upon final approval by the client, the client can begin the process of creating the project.
Implementing 3D visualization in the interior design process has allowed designers to create highly accurate, detailed, and client-satisfying projects more reliably, eliminating errors and rework in construction. By following these phases and utilizing this technology, you can be sure to get a final result that truly meets the client’s expectations while minimizing errors and maximizing efficiency.

